This was my first Closet Case Files pattern and I really enjoyed making it. Having said that, it wasn't a breeze. I found the instructions to be inconsistent. In general they were good. The instructions for both the collar and the yoke were excellent, but there were others, such as the hidden placket and the sleeve cuffs that I found lacking and somewhat confusing. There is a sewalong, which I used for the cuffs and which was very clear, so all good in the end. I bought the Ginger jeans pattern at the same time, so we'll see how we get on with them. Feedback is that the instructions for them are excellent.
I really like the pattern, which I think is well drafted and goes together very well. As I said, I found the instructions for both collar and yoke to be really comprehensive and clear. The collar uses the universally exhalted "Andrea's method" and the yoke is burritoed, which is possibly one of my favourite sewing methods. Since they are the scary bits of shirt making, that really helped.
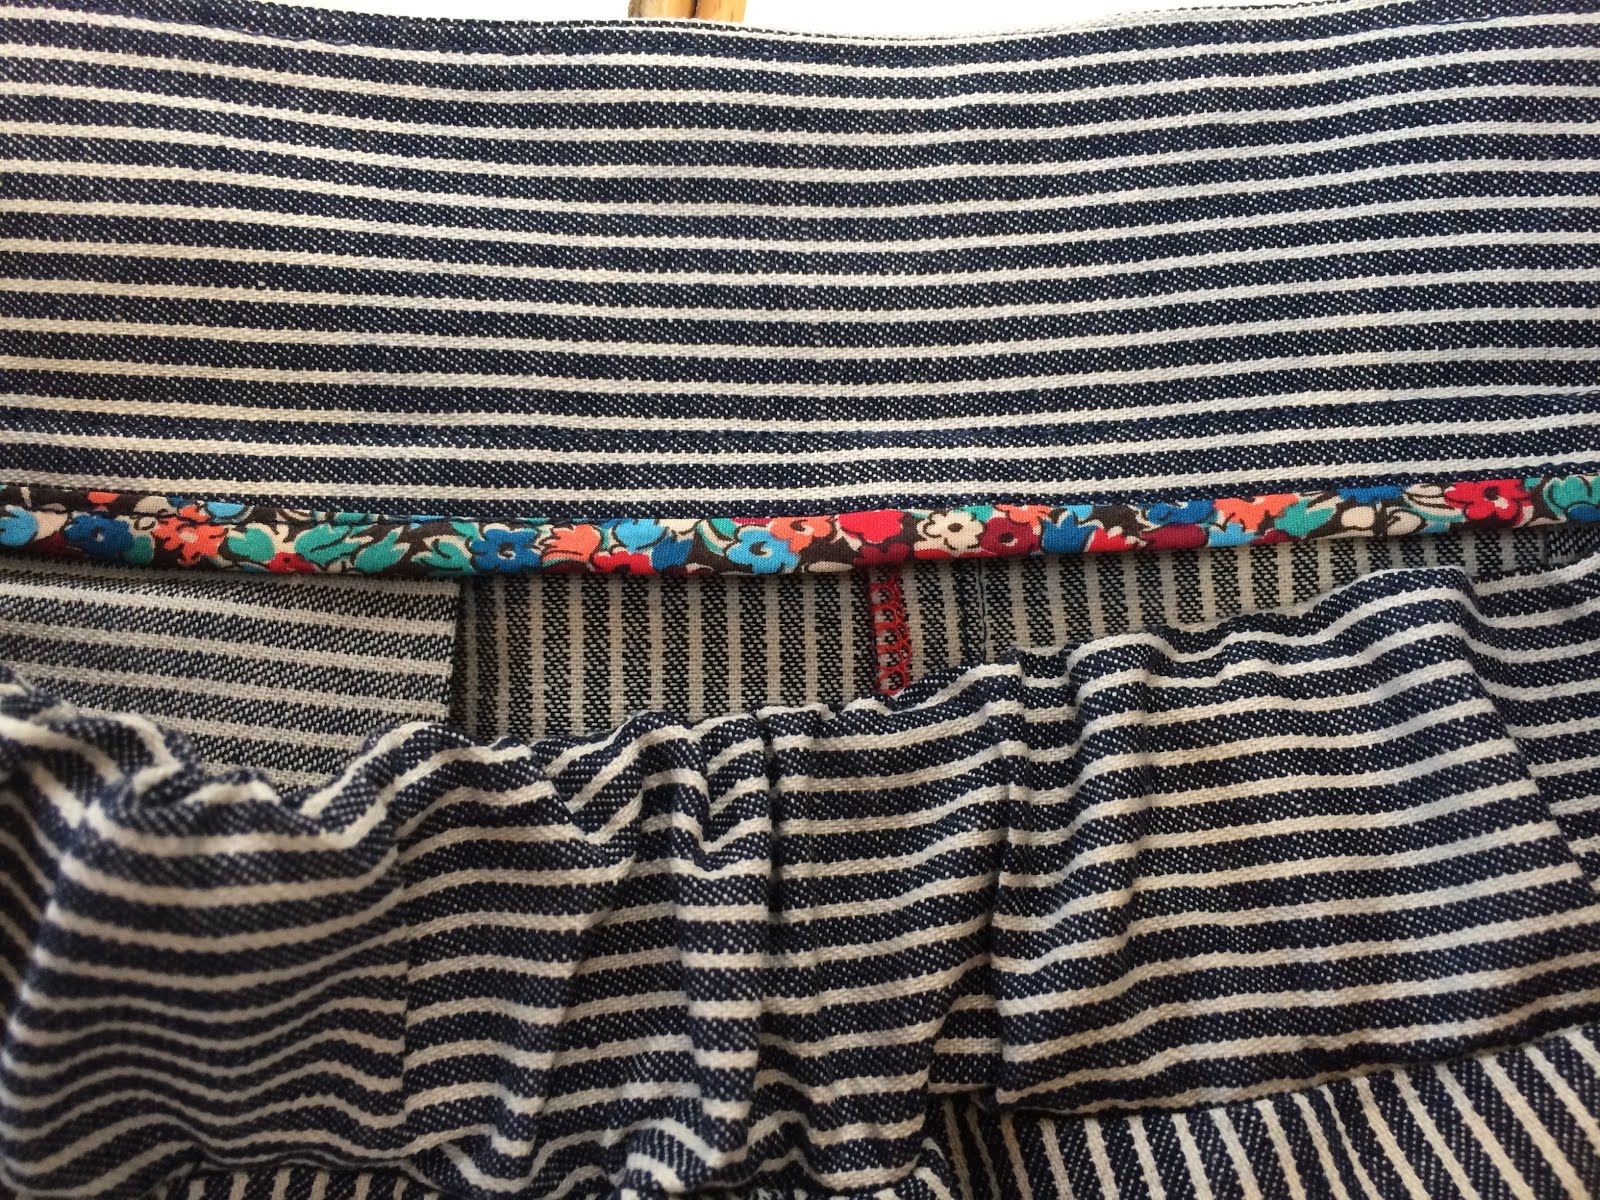
As mentioned, as drafted I thought the cropped version of the shirt was a little too short for comfort, so I added 5cm to the length. If you do this, remember to also lengthen the button band/placket. This gives me a nice length that sits at high hip - short enough to look deliberately cropped, but I am in no danger of flashing my tummy. I chose the "proper" collar as I'm not a fan of band collars, and the hidden placket. I had planned to also use the hem facing, which I really like, but it didn't seem right for this fabric. Due to the exaggerated curves of the hem, I faced it with bias binding - not the given pattern piece for the shirt dress, instead I just made bias binding as usual. I then encountered a couple of problems - the SA was less than the drafted 5/8" which didn't work at the side seams, and the bias binding was just too bulky, affecting the way the shirt hang. In the end I fixed it, by not double folding the bias when I turned it under. I'm really not explaining myself well but there is a raw edge on the inside, as I chose not to turn it under. With regards to the side seams, I just fudged it. The finish works well. In theory the binding shouldn't fray as it's cut on the bias. We will see.
 |
| Hidden placket |
Oh yes, and I actually chose the inverted pleat, but ended up sewing my front pieces on back to front and only realised after I'd burritoed the yoke thus after the point of no return. Due to the button band positioning, it made sense to keep the front right way out and make the back the wrong side. There really isn't much difference from the point of view of the fabric, but it's annoying because I had thought about the placement of the embroidery and holes when cutting and had deliberately offset the underside of the yoke so the holes would not align, so now the embroidery is not centred on the yoke. No one normal will notice, but still.
Other changes? As I couldn't use iron on interfacing (the glue would have shown through the "holes" in the fabric), I interfaced with white poly/cotton from my stash, which I basted on. I also used this for the bias binding. And the shirt only has 4 buttons. With multiple layers, and also the embroidery adding bulk, I just could not get the collar stand under my button hole foot. I know it's trendy but i doubt I'd do up the top button anyway, so have gone without. The white buttons were in my button jar and are recycled from something else. And I accidentally did horizontal buttonholes, which I didn't realise were wrong until I tried to button it up!
I made a good portion of this at a mini Blogger meet up organised by Franca. It was only the pair of us, plus Jen and Kerry, but Roisin was in Edinburgh for the weekend and popped in to say hello. It was lovely to meet her. She even got to witness my parallel parking skillz!
So, yes, delighted with this. I really, really love it. I'm not normally someone who wears white, and I did consider dying the fabric, but I think the white looks really fresh, as long as I have no spillages. So far so good on that front. By keeping the broderie unlined I have the option to wear different coloured camis underneath, which changes it up a biit, or possibly to wear just a bra if I'm feeling brave (and warm) enough? Ha ha!


